

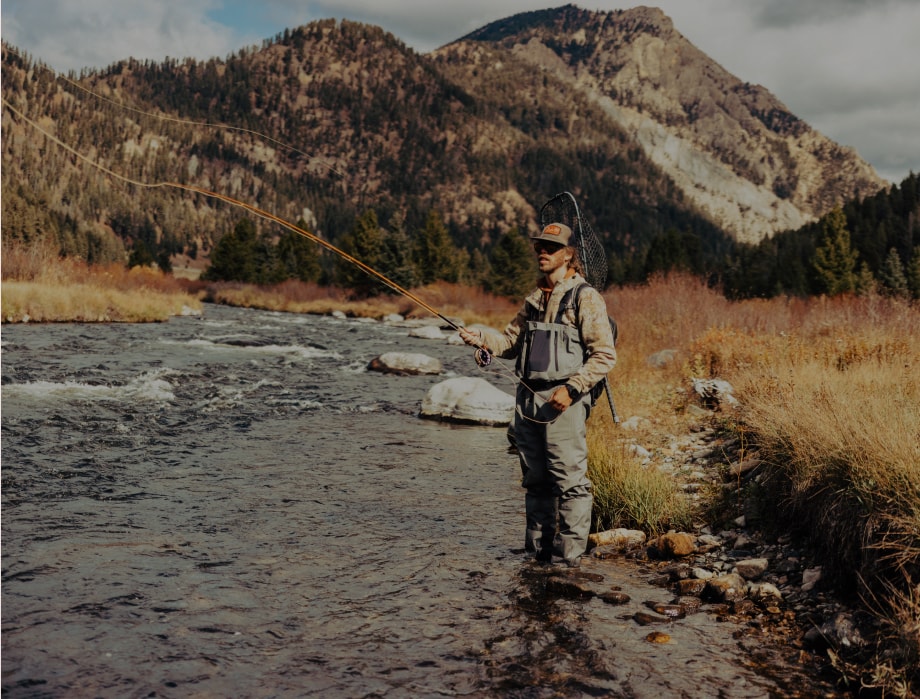


To us, there’s nothing quite like backcountry fly fishing. It gives a glimpse into something that we just don’t see in our modern era—complete solitude, untouched vistas, and hundreds of hungry trout that haven’t been inundated with crowds throwing flies and lures at them day-in and day-out.
But, much like any good thing, you’re going to have to pay the price through some sweat equity. The entire reason you’re enjoying solitude and hungry trout is because it takes quite a bit of effort to get there; otherwise, it’d be just like any other crowded tailwater. In another article, we offered some tips on backcountry fly fishing, but most of it applied to what happens when you’re actually on the water. This time around, we’re taking a step back and offering some tips on how to actually pull off a backcountry fly-fishing experience.
As we said, it may not be easy, but it’s more than worth the effort.
Prioritize the Planning Process
Here’s a hot tip: if you can learn to love the planning process, you’re getting exponentially more value out of your backcountry experience. Let’s say you set a trip for early August, why not start planning six months ahead of time? Your trip will be better off for it, and it’ll give you something to do during those long work meetings.
Start looking for areas and try to avoid only using Google for your research. Reach out to anglers you know and admire, and pick their brain about areas they think strike the right balance between accessibility and remoteness. Book your flight early and start talking with different outfitters who can find shuttle services, if necessary.
Use the Right Tackle
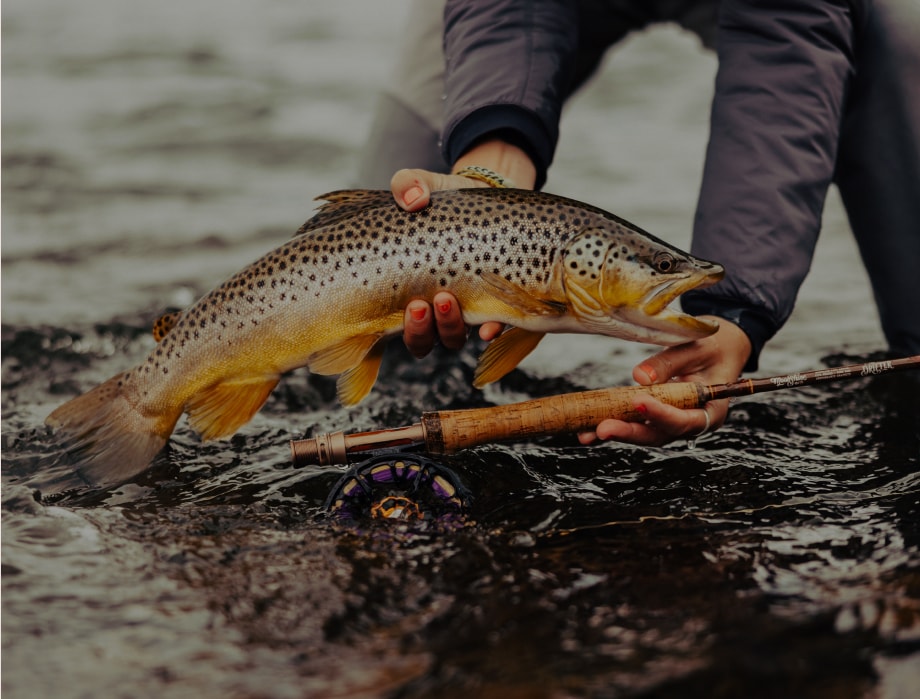
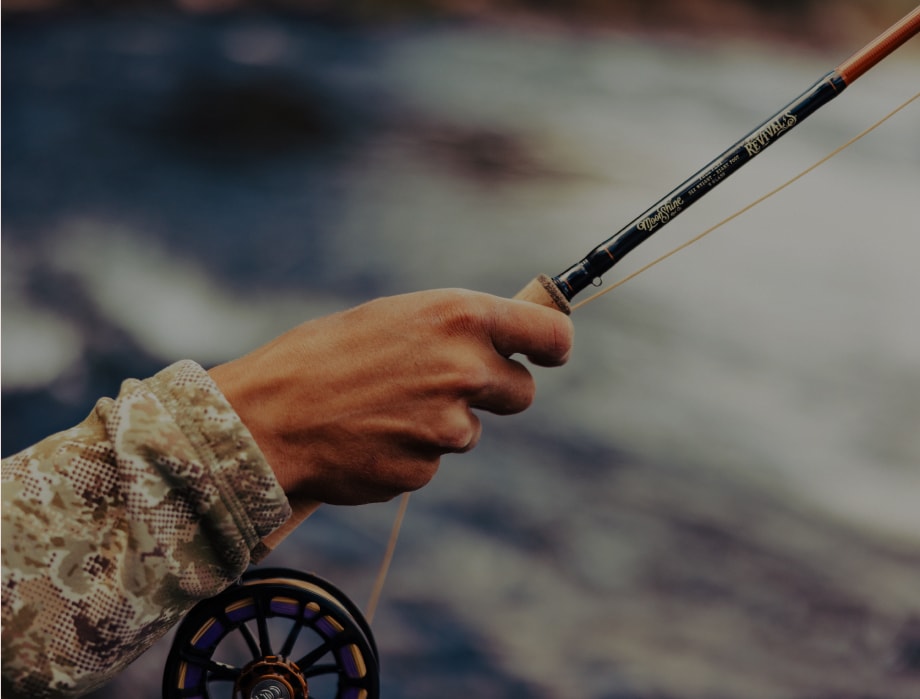
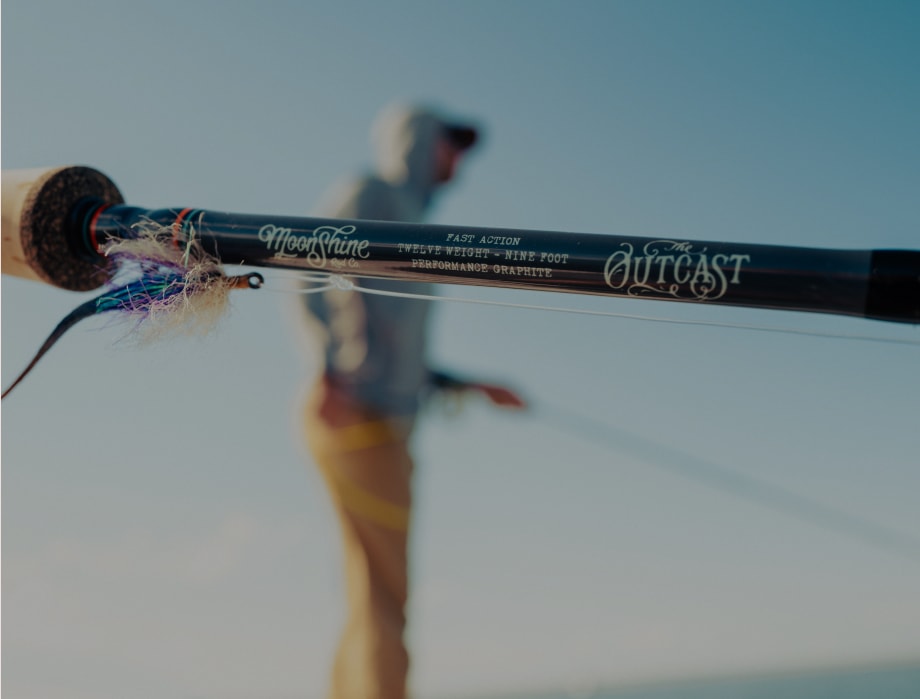
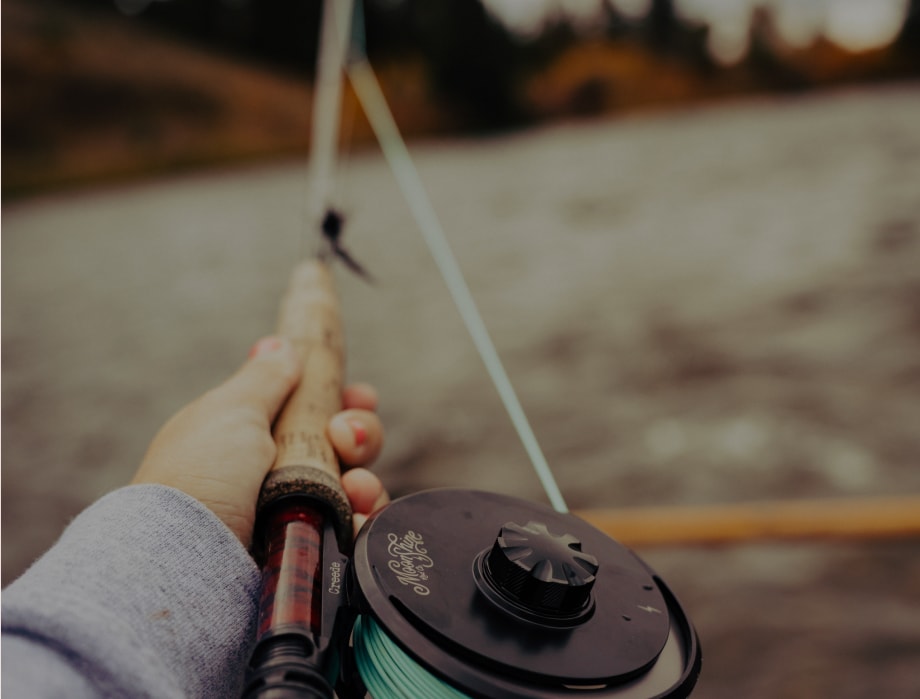
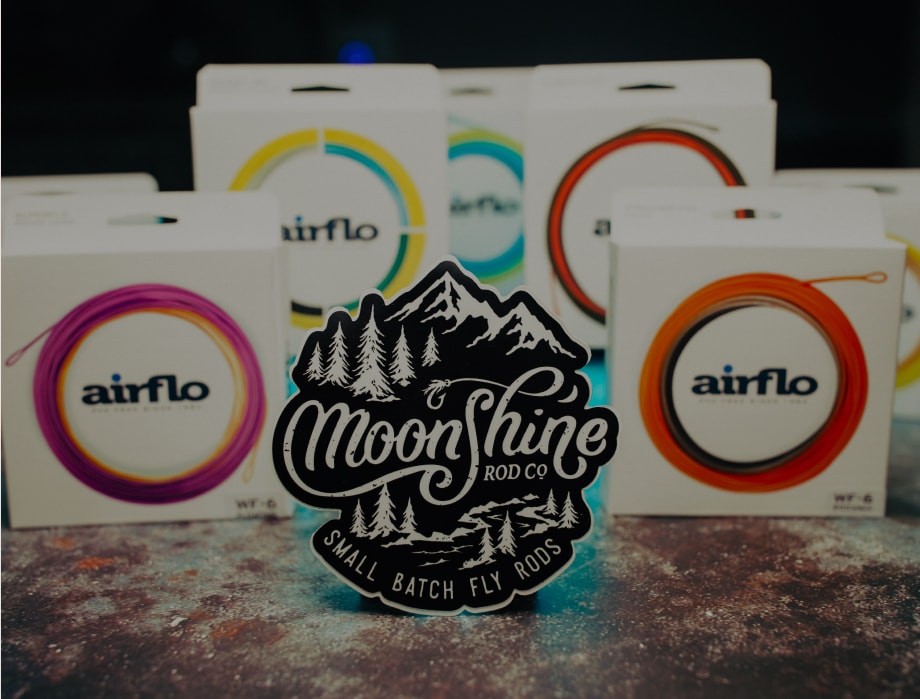
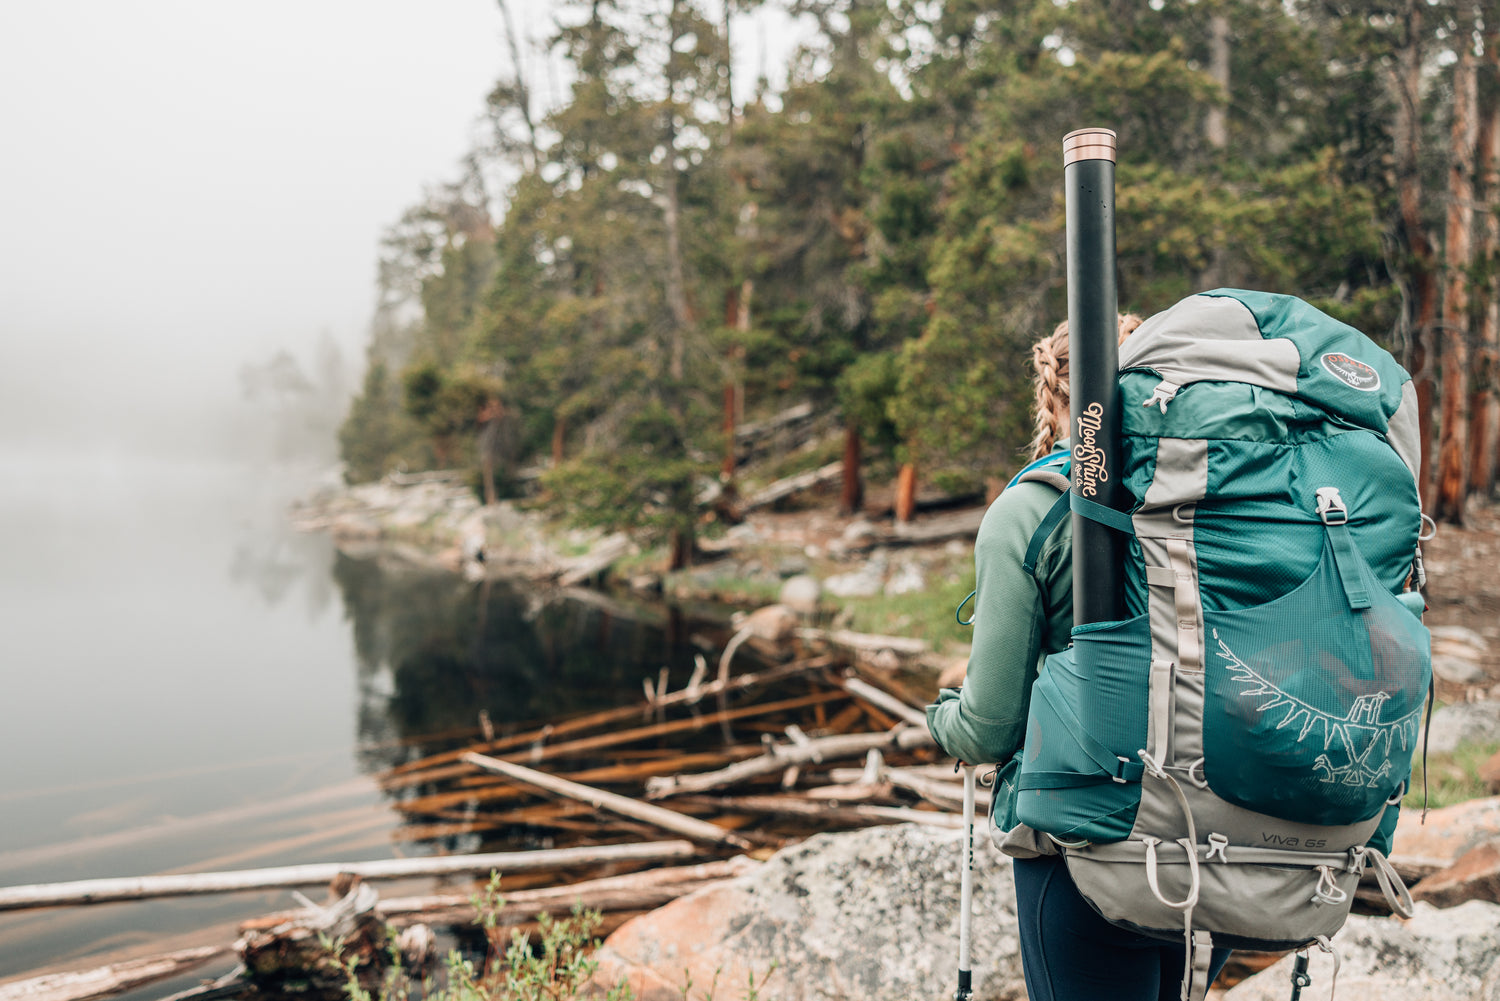
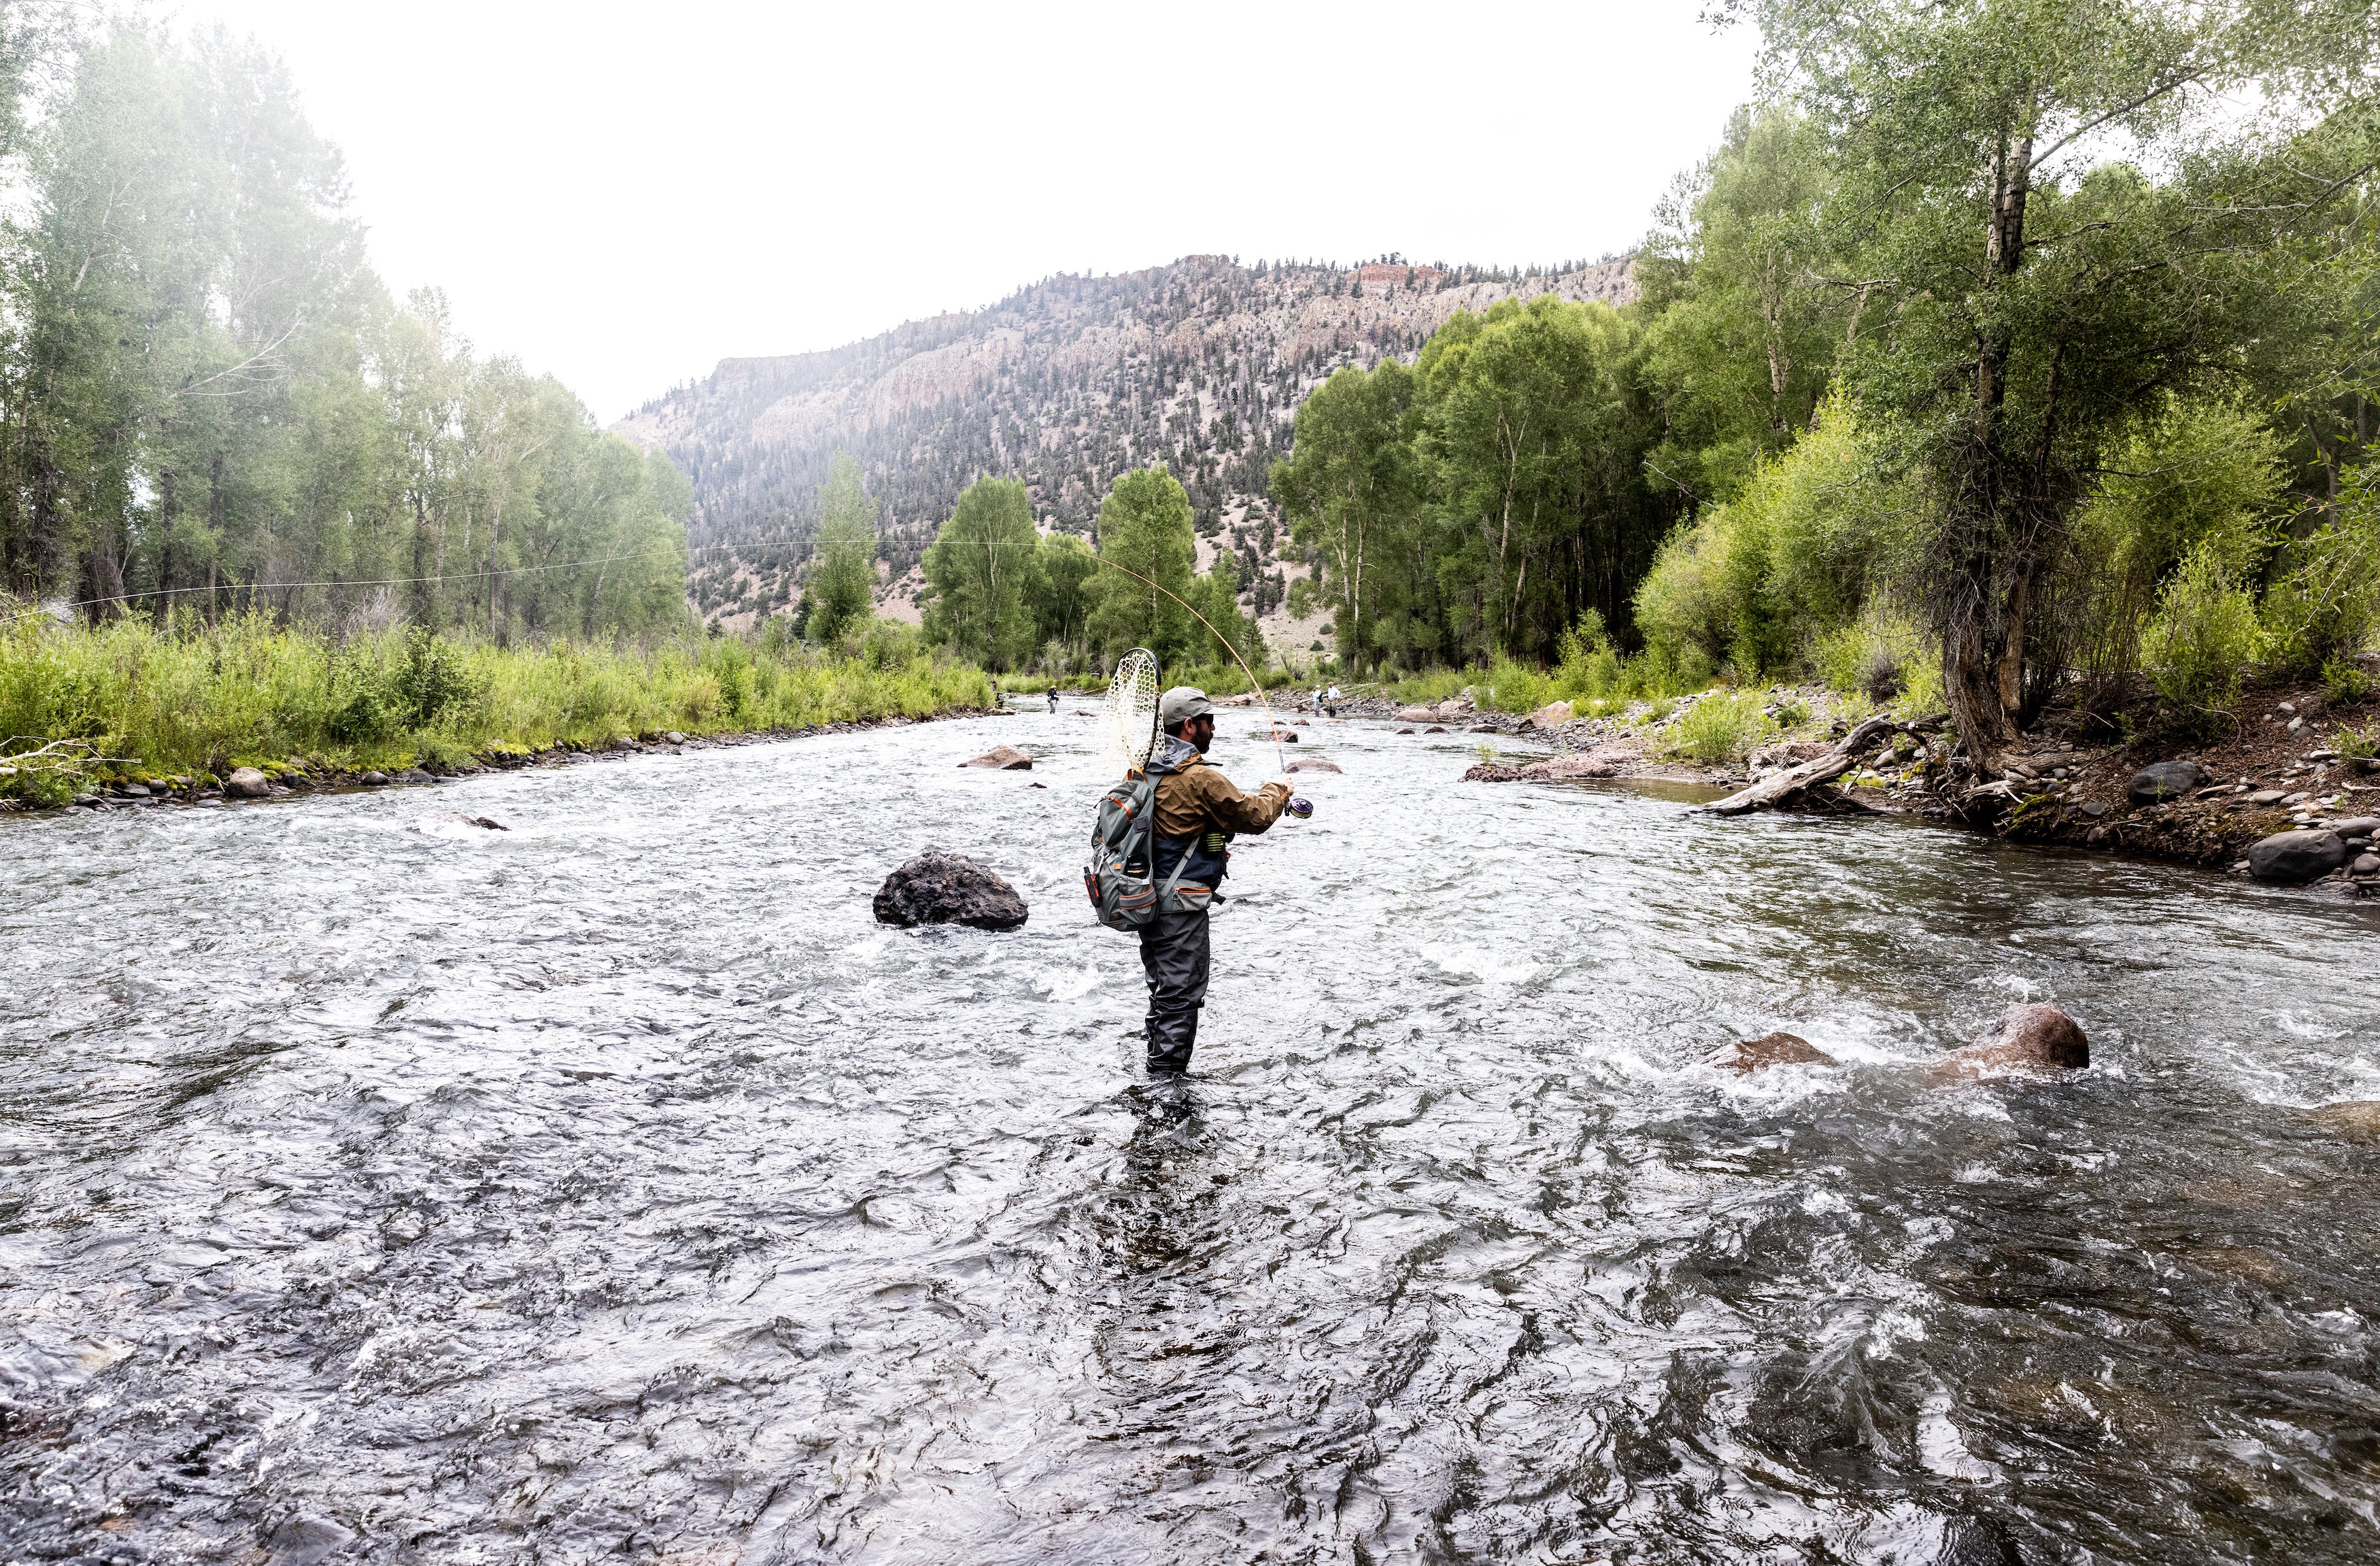
Obviously, backpacking means you’re going to be short on space, so you need to choose your fly tackle wisely. In most cases, a backcountry trip means you’ll be fishing smaller streams, creeks, and alpine lakes, so you’ll want to find a rod that can do it all. Probably a five-weight Revival would be our first choice because it has more delicacy and a slower action, so you can get the most out of small streams while still being able to throw flies at a distance on alpine lakes. And, don’t forget, you’ll have that extra tip just in case things go awry while you’re on the trail.
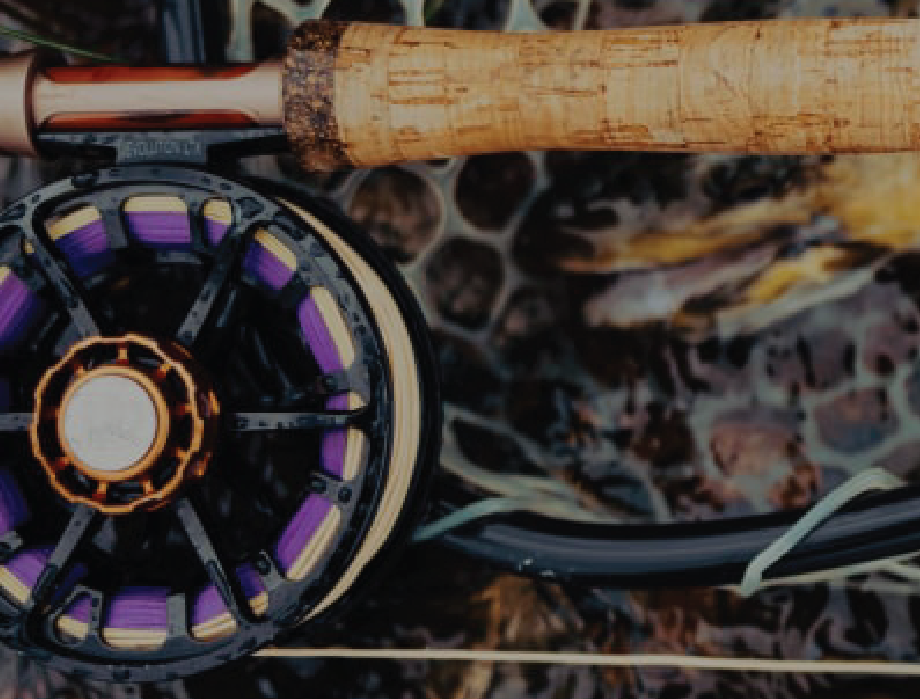
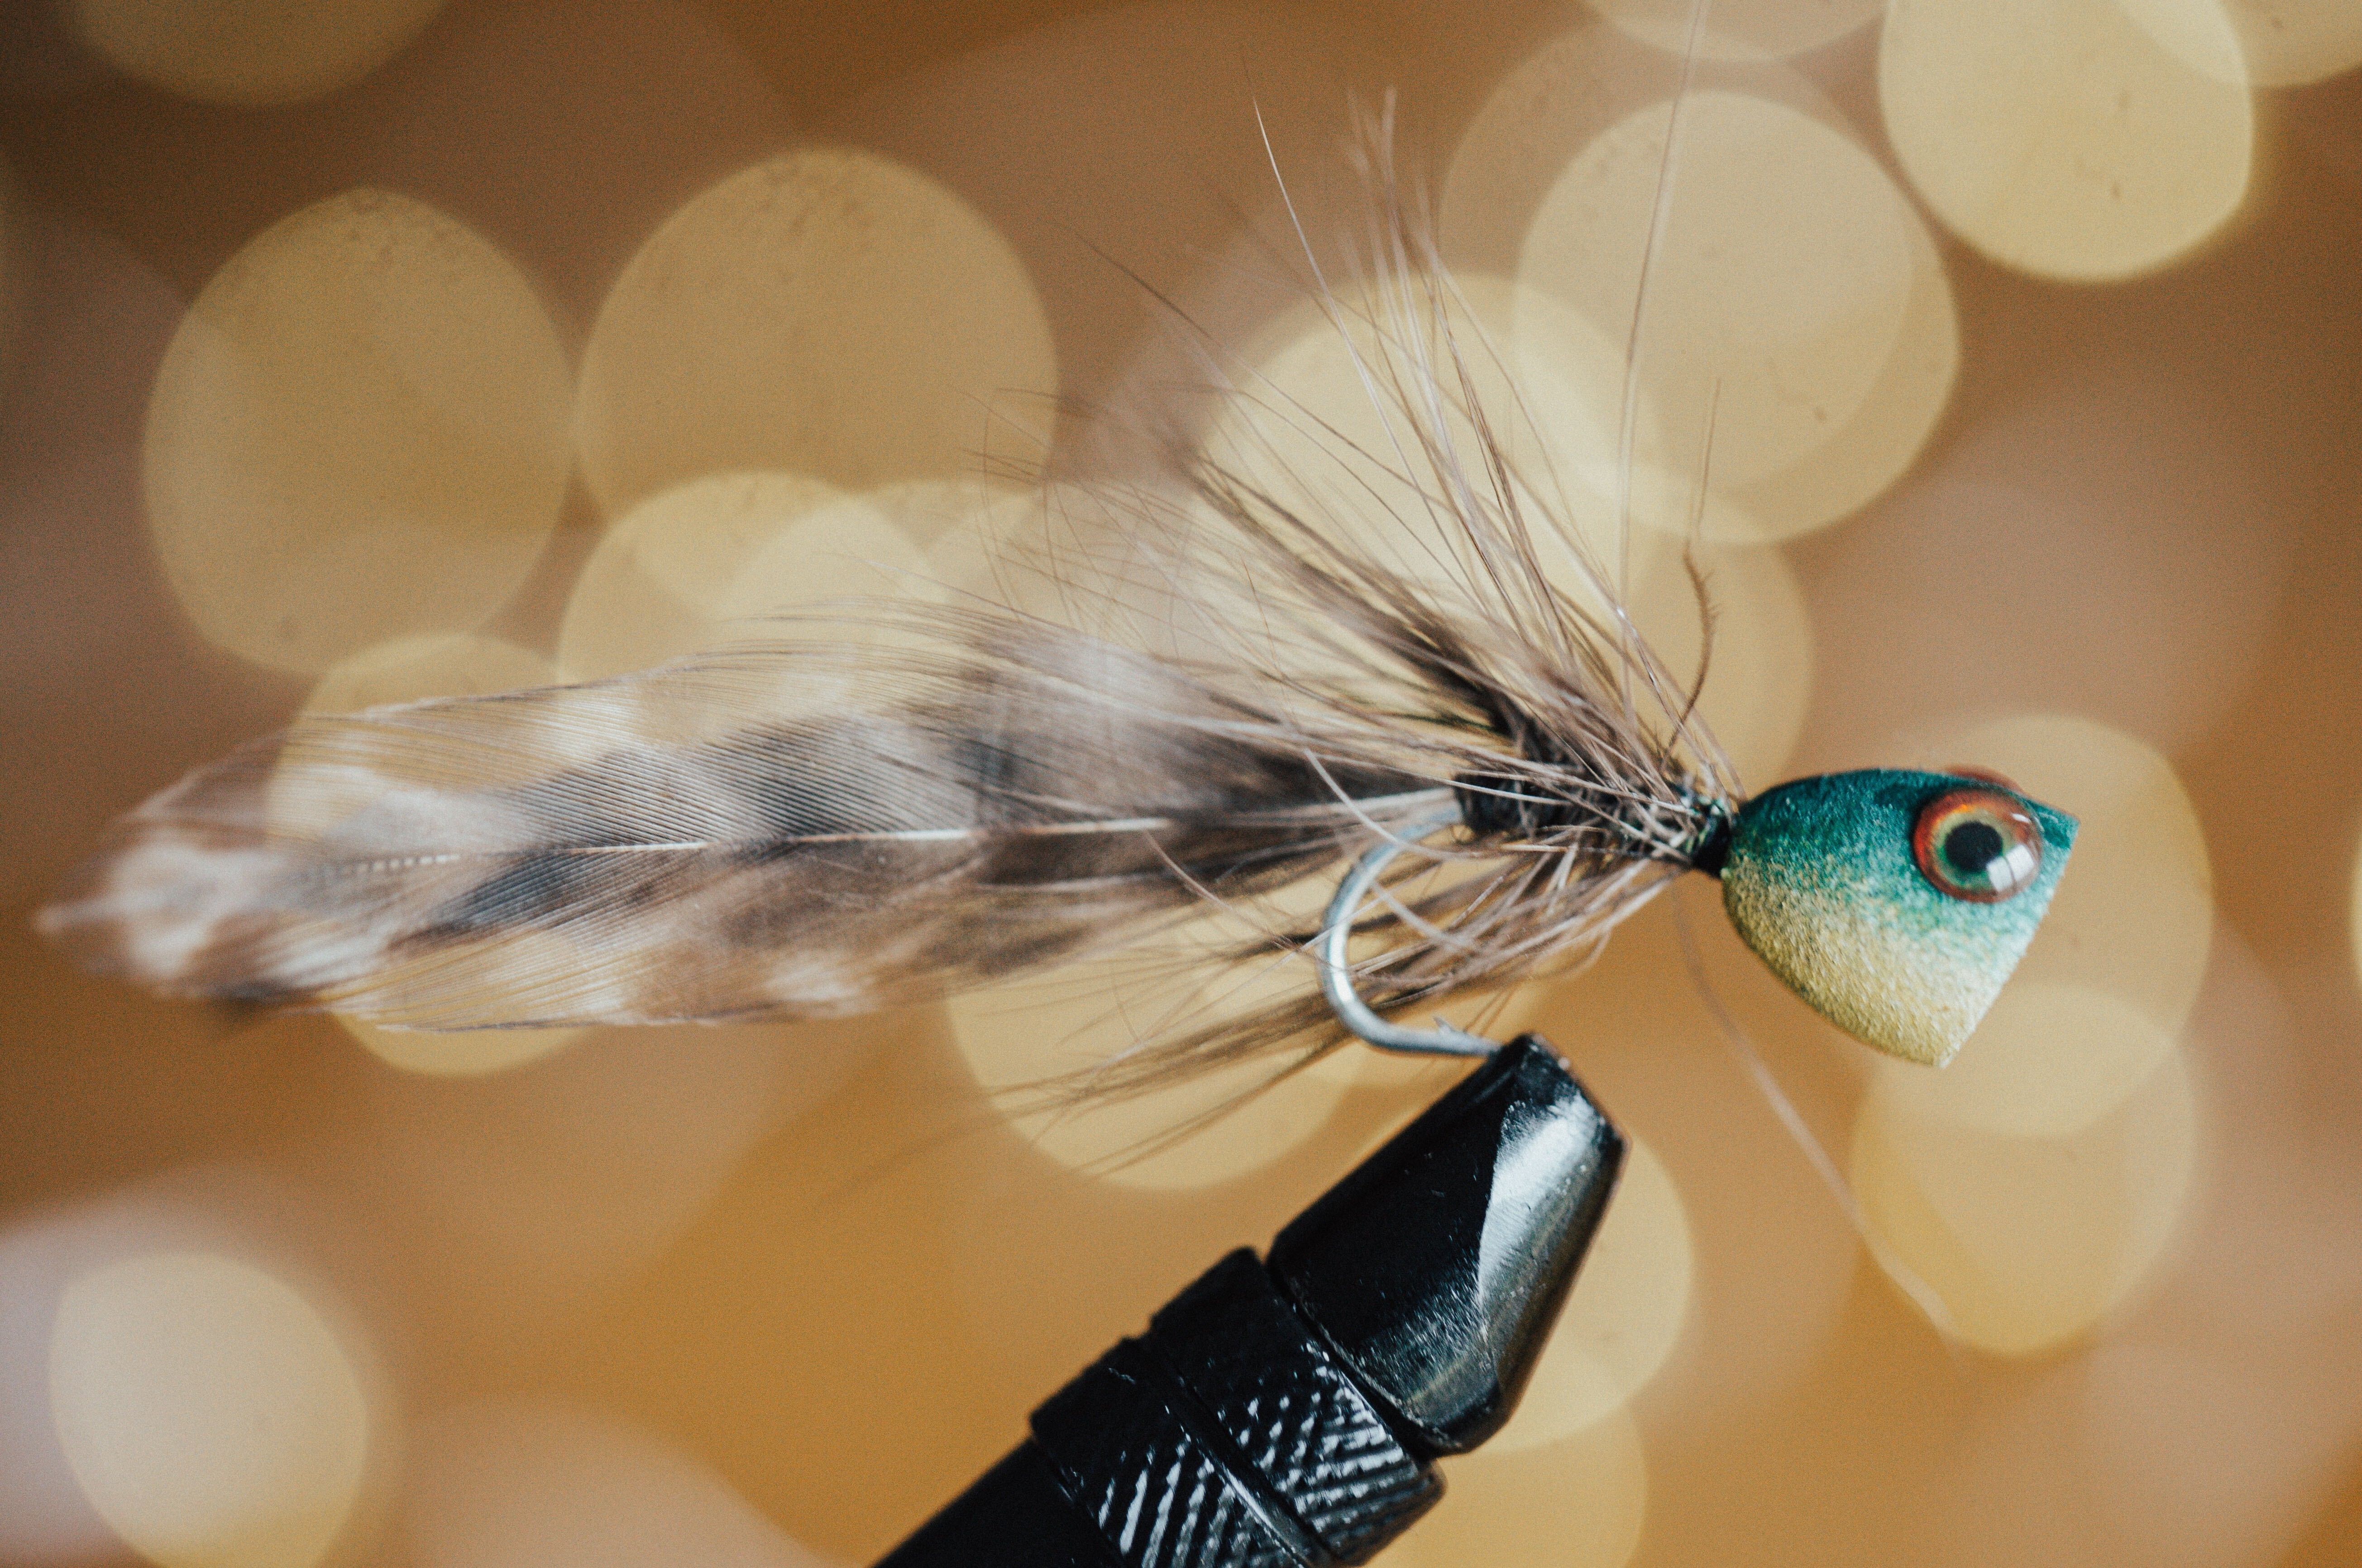
Beyond rods, you’ll only need one reel and pare down your fly selection to just a few distinct patterns. Generally, backcountry trout are less picky than others, so you can get away with throwing just a few classics like Stimulators, Hare’s Ear Nymphs, Hoppers, and others. Even though it may seem unnecessary, we’d still recommend a net to help you land fish and protect those wild trout.

Backpacking is not Camping
One important note about gear is that backpacking is not the same as camping. Sure, they’re in the same universe, but oftentimes camping gear is built primarily for comfort and not for packability. Start thinking about investing in a tent setup that’s light and packable—we love using a tarp setup for backcountry travel. Other considerations are stoves. Our personal favorite is the Trangia because it’s nearly unbreakable, simple to repair, and versatile. Also, take a look at your sleeping bag. Chances are, you’re going to encounter cold nights, so you’ll want a warmer bag in down options, as long as you can keep it dry. If you’re heading to an area that receives a lot of rainfall, a synthetic bag may be the way to go.
We could go on and on with the list of gear, but just think about what you’ll need to not only survive in the backcountry, but also to thrive in the backcountry. In general, you can use backpacking gear for camping, but the inverse is not always true, so it may be worth buying lightweight and packable first.
Nail Down Your Setup
Backcountry travel can essentially be boiled down to the art of packing, which is more involved than you think. Invest in a solid backpack, from 60-liter to 100-liter, depending on the length and type of trip you’re taking on, and then think about what you’ll need on a day-to-day basis. A good way to think about packing your backpack is with ABC:
Once you’ve figured out how you’re going to pack up, it’s time to practice it a few times. Get used to unpacking and packing, and try to memorize where you keep items. Think of your backpack like a house. If you needed something, you’d want to know where it is, and you don’t want to walk into your house for the first time when you’re on the trail.
Know the Area
We’ll backtrack a bit and talk about the area you’ll be traveling to. During the planning phase, take some time to learn about the natural history of the area, its geography, wildlife, and recent history. Not only will this enrich your trip, but you’ll also learn about potential hazards as well. For instance, is the area unusually dry and prone to wildfires? Is there a large population of bears in the area? Are water temperatures going to be nearing the 65-degree mark? These are all good things to know before heading out.
Embrace the Wild
Too many anglers plan a backcountry trip and think only about fishing. We’re guilty of it, too. But, don’t forget about the fact that you’ll be traveling through a wild environment seeing things that you’ve probably never seen before. Soak it up! Learn how to forage for wild foods—onion, garlic, and morels are fairly common in alpine environments—or study up on the different animals in the area. If there’s a healthy population of trout or whitefish, think about cooking up a fish dinner on the trail one evening. These moments will be just as memorable as an 18-inch trout. Or at least pretty close.
Iron Out the Logistics
As you get closer to your trip, it’s time to start putting plans on paper. Pick out a trail you think would be a good option and start writing down mileages, the names of trailheads, and intersecting trails as well. This is a great time to break out the notebook and start writing things on real paper. Double-check with your shuttle service to make sure you have a ride to and from the trailhead.
Write down emergency numbers, ranger station locations, and, most importantly, let people know exactly where you’re going and when you’re planning to be back. If you’re going to a particularly remote area, it may be a good idea to invest in a Spot device and even look into search and rescue insurance, just in case.

Maximize Fishing, Minimize Travel
As you’re planning your route, it’s natural to want to cover as much ground as possible. But, remember that you’re there to fish and soak it all in, which is hard to do when you’re death-marching 15 miles a day on the trail. Set your travel expectations low and enjoy time at camp and on the water. As you map your route, try to choose areas with as much access to water as possible (i.e. look for blue lines) and areas to camp nearby. On a topographical map, this will either be clearly marked or simply an area with contour lines that are far apart, denoting a flatter area.
Learn to Read a Map
Once you’ve looked at the broad scope, use a tool like onX to start familiarizing yourself with the trails and terrain. Start marking waypoints for potential fishing spots or camping spots. Then, as you get closer to your trip, buy a physical USGS topographic map of your location and grab a compass as well. You just can’t rely on your phone in the backcountry and a map and compass will never run out of battery. Learn some basic navigation skills (how to shoot a heading, triangulation, and general map reading) and start to get used to reading a map. Trust us, once you get out in the wilderness, you’ll be glad you did the work upfront.
Traveling effectively through the backcountry is a skill that’s learned over time. One of the most fun parts of backpacking is the fact that you’re going to encounter problems and learn from them for the next journey, so don’t be too afraid of doing things incorrectly. With each trip, you’ll start to move through the landscape like you were meant to be there, which is the entire point.
2 comments
Shammy Peterson
It sure was helpful when you suggested knowing the natural history of the area and its geography when planning a fly fishing trip. This is something that I will share with my sister who is planning a fly fishing trip with her husband next month. For sure, your tips will help them ensure that they will find the right fly fishing spots. http://www.riverwild.com/glacier-fly-fishing/
Stephen Heinzelmann
You guys are doing it right, Ive been doing Salmon trips in NY for over 30 years. I set them up for my Fly fishing buds. Also right here at home in NC for Albies at Cape Lookout. camping out there at night is amazing, if you want to hookup just let me know, those Albie off the surf is where 10 weights go to die,
Leave a comment
All comments are moderated before being published.
This site is protected by reCAPTCHA and the Google Privacy Policy and Terms of Service apply.